

Welcome to the 1st blog of this beautiful series that covers Building a Full Stack Web Application using Next JS.
We would essentially use Next.js, Firebase & MongoDB to design the data and to store and retrieve the Data and Images.
Let's get started:
Requirements:
Your system should have the following installed in order to run the Application locally in your system:
Node.js (Version X.X.X): Ensure you have Node.js installed on your system. You can download it from the official website: Node.js
Git: Install Git on your system for version control. You can download it from the official website: Git
Firebase Account: Create a Firebase account if you haven't already. You can sign up on the Firebase website: Firebase
MongoDB Atlas Account: Set up a MongoDB Atlas account for cloud-hosted MongoDB. You can sign up on the MongoDB Atlas website: MongoDB Atlas
Frontend Installation
Follow these steps in order to make the basic Next.js setup.
Step 1:
Make a new folder (eg: Full Stack Project) and navigate to that folder using any terminal such as Git Bash, Hyper etc. You can also open this newly made folder inside VS Code So that the folder is readily available inside it.
Inside VS Code, open the Terminal option (present at the navbar). Your project directory should automatically appear inside the terminal.
It would look somewhat like this:
PS C:\Users\HP\OneDrive\Desktop\Full Stack Project>
NOTE: Your Folder's location may vary from system to system. So, do not worry the path of your directory does not appear to be same as above 😄
Step 2:
Type in the Next JS installation command:
You can provide any name to your frontend file. Here, I have named it as "sample frontend".
PS C:\Users\HP\OneDrive\Desktop\Full Stack Project> npx create-next-app sample-frontend
After initiating this command, the terminal would ask you the some questions to install utilities.
For this project sake we won't be using TypeScript, ESLint & Tailwind CSS.
NOTE: Select "No" for TypeScript, ESLint & Tailwind CSS.
Your terminal interface should look like this when you run the above command:
PS C:\Users\HP\OneDrive\Desktop\Full Stack Project> npx create-next-app sample-frontend
Need to install the following packages:
  create-next-app@14.2.1
Ok to proceed? (y) y
√ Would you like to use TypeScript? ... No / Yes
√ Would you like to use ESLint? ... No / Yes
√ Would you like to use Tailwind CSS? ... No / Yes
√ Would you like to use `src/` directory? ... No / Yes
√ Would you like to use App Router? (recommended) ... No / Yes
√ Would you like to customize the default import alias (@/*)? ... No / Yes
Creating a new Next.js app in C:\Users\HP\OneDrive\Desktop\Full Stack Project\sample-frontend.

Using npm.

Initializing project with template: app


Installing dependencies:
- react
- react-dom
- next


added 21 packages, and audited 22 packages in 31s

3 packages are looking for funding
  run `npm fund` for details

found 0 vulnerabilities
Success! Created sample-frontend at C:\Users\HP\OneDrive\Desktop\Full Stack Project\sample-frontend
Complete installation of all the packages might take some time. So be patient for a while⌚.
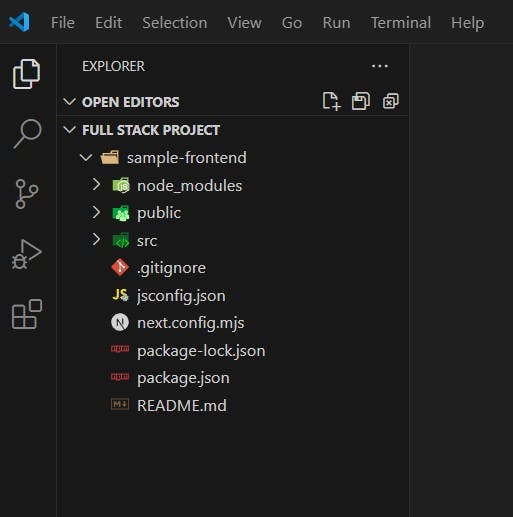
Here is how your directory should look like ⬇️
Step 3:
Verify if everything is correctly installed by running the frontend inside the project.
Head over to the frontend directory inside the project:
use command "cd sample-frontend"
PS C:\Users\HP\OneDrive\Desktop\Full Stack Project> cd sample-frontend
Type in the following command to run the frontend in your Local System:
use command "npm run dev"
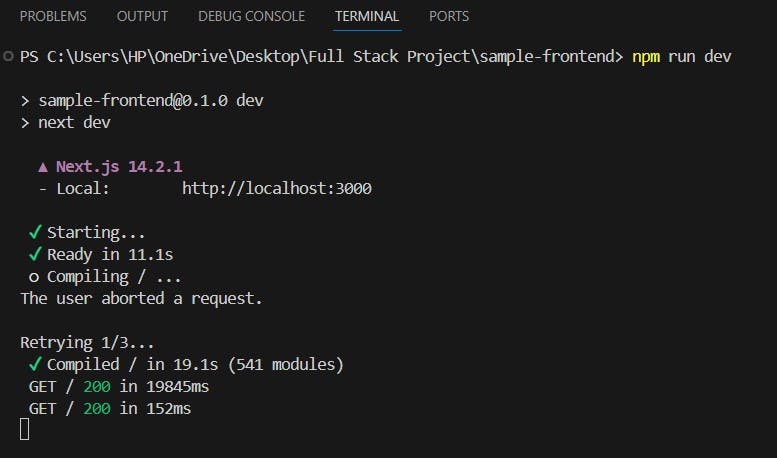
PS C:\Users\HP\OneDrive\Desktop\Full Stack Project\sample-frontend> npm run dev
The frontend server should appear to start as shown below ⬇️
Open your browser and type in "localhost:3000" as the URL.
You should be seeing the frontend showing up as following:
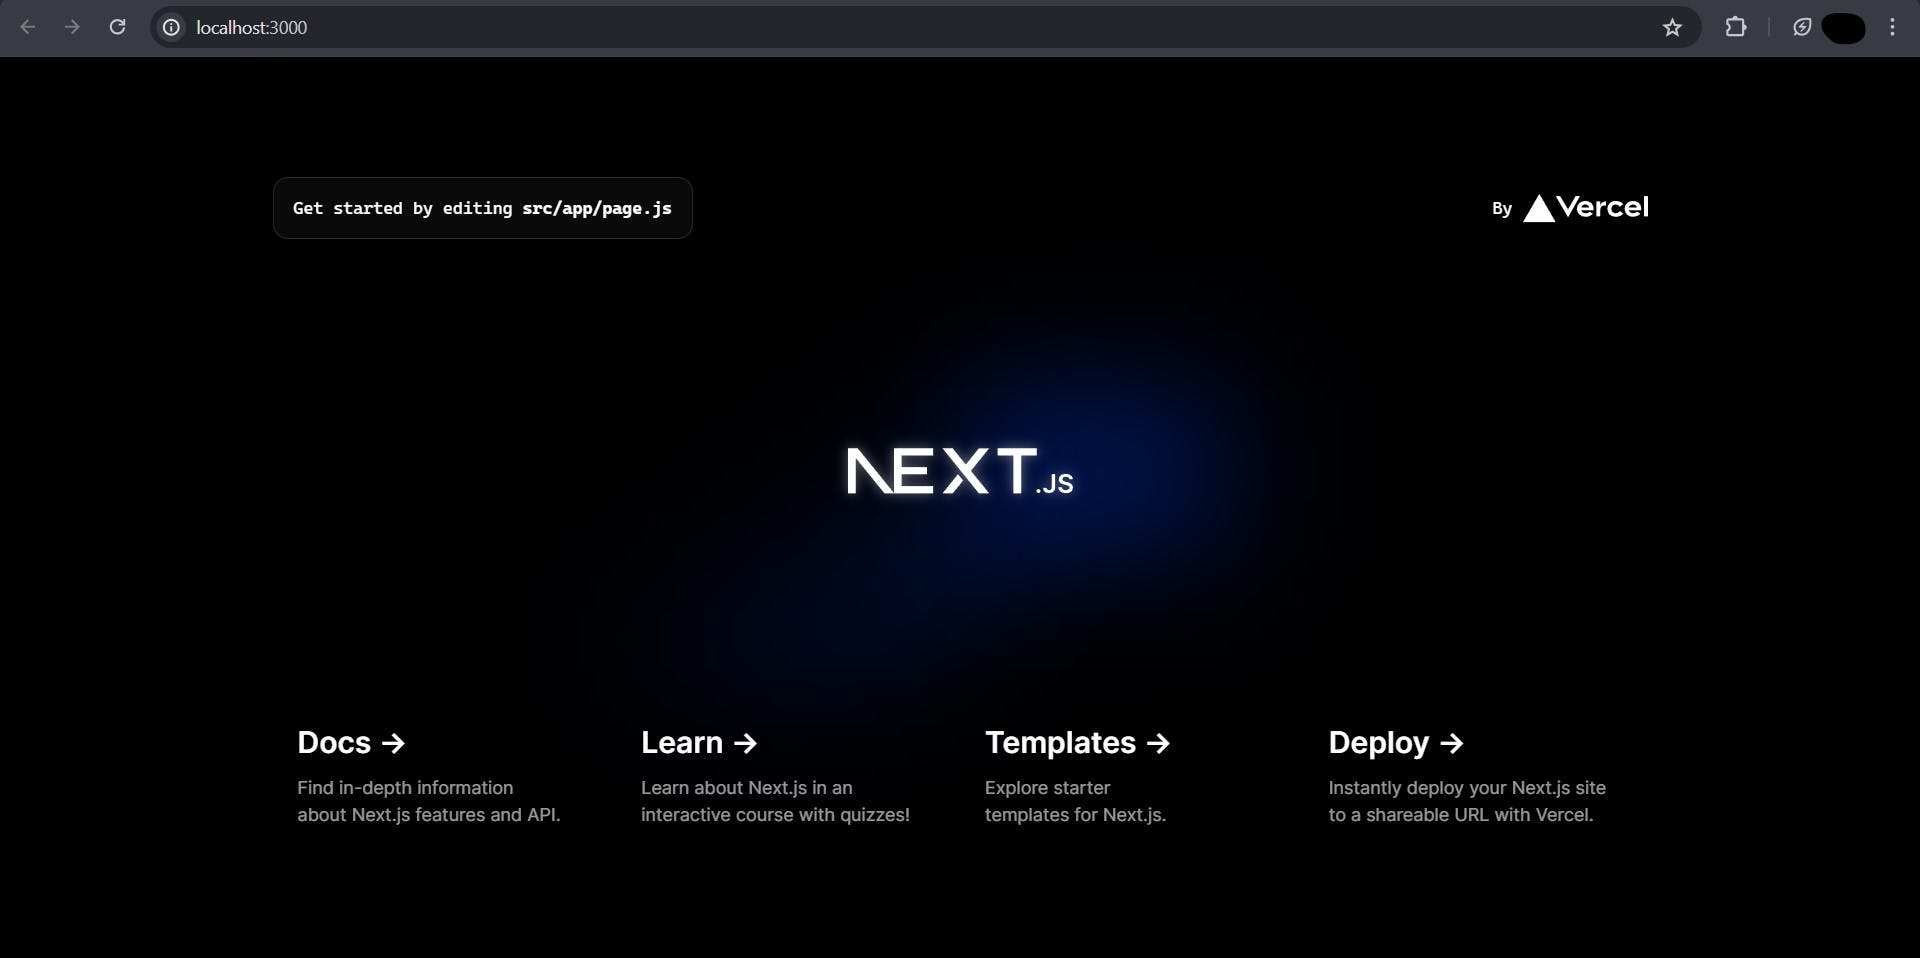
Congratulations 🎉, you are all set with the basic Frontend setup of Next.js
In the further parts of this series "Building Full-Stack Web Application using Next.js" I would be covering the following:
Setting up the Backend Servers 🗃️
Integrating MongoDB with Backend 📥📤
Setting up Firebase and Integrating it with Frontend🔥
Connecting Frontend to Backend and testing the whole project run 🏃♂️
Deploying the project globally to make it shareable 🌐
In case of any doubt, you can reach out to me via LinkedIn 👨💻
You can also connect with me on various other platforms like Twitter, GitHub
If you liked this Blog, make sure to give it a 💟 and do Follow me on this platform to get notified for my next blogs in this series.
Happy Coding!! 😊