Full Stack Web Application using Next JS

A passionate Web Developer who seeks to learn new Technologies every day
Welcome to the 2nd blog of an awesome series that covers Building a Full Stack Web Application using Next JS.
We would essentially use Next.js, Firebase & MongoDB to design the data and to store and retrieve the Data and Images.
Before you read further, make sure to checkout my First Blog on this series.
Key Takeaways:
Foundational aspects of Next.js
Focusing on pages and File System Structure
Integrating Firebase into our project to store images
Understanding Next.js Pages and File System:
Next.js makes it easy to organize your website's pages using folders and files. Each page you create has its own special address, like a house on a street 🛣️.
According to me, routing of pages in Next.js is way easier than React.js + it's faster to render pages here.
NOTE: You do not need a separate route file in order to define routes and naming the files.
Following is the snippet to get an idea how to simply place all the page files:
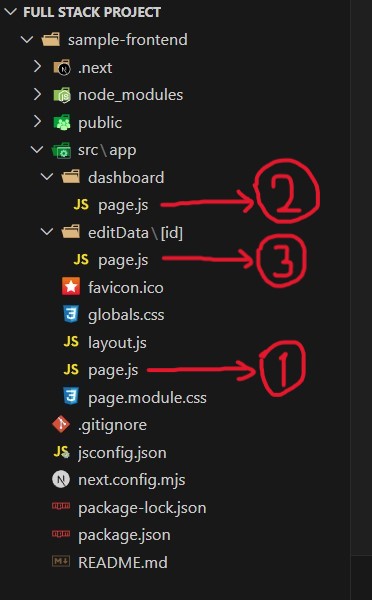
The above snippet clearly depicts that I have made 3 page files marked as (1, 2 and 3) with ".js" extension.
Explanation:
1 ➡️ This represents the Home page file. Everything written inside this file would run when we run this URL: http://localhost:3000/
2 ➡️ This represents the Dashboard page file. Everything written inside this file would run when we test this URL: http://localhost:3000/dashboard/
3 ➡️ This represents the Edit page file. Everything written inside this file would run when we test this URL: http://localhost:3000/editData/[id]/
NOTE: You need to write the exact same name of the folder (in this case: dashboard and editData) inside the URL in order to correctly render the pages.
Setting Up Firebase and Integration with Next.js:
Firebase provides a comprehensive set of tools and services for building and managing backend functionalities, including authentication, database, storage, and more.
For now we will only be focusing on the image storage feature inside Firebase to make things simpler.
Step 1:
Create a new Firebase Account. Visit https://firebase.google.com and click on "Go to console" button available at the top right of the navbar.
Click on "Add Project".
Provide it a name. Here I have named it as "sample project" and click Continue > Create Project.
Inside Firebase Admin dashboard, click Build > Storage.

Click on Get started
Click Next in Production Mode > click Done.
This would set up your storage bucket.
Step 2:
Start by installing the Firebase SDK in your Next.js project using npm
Open up the terminal and inside the directory sample-frontend..
PS C:\Users\HP\OneDrive\Desktop\Full Stack Project> cd sample-frontendType in the following command:
npm install firebase
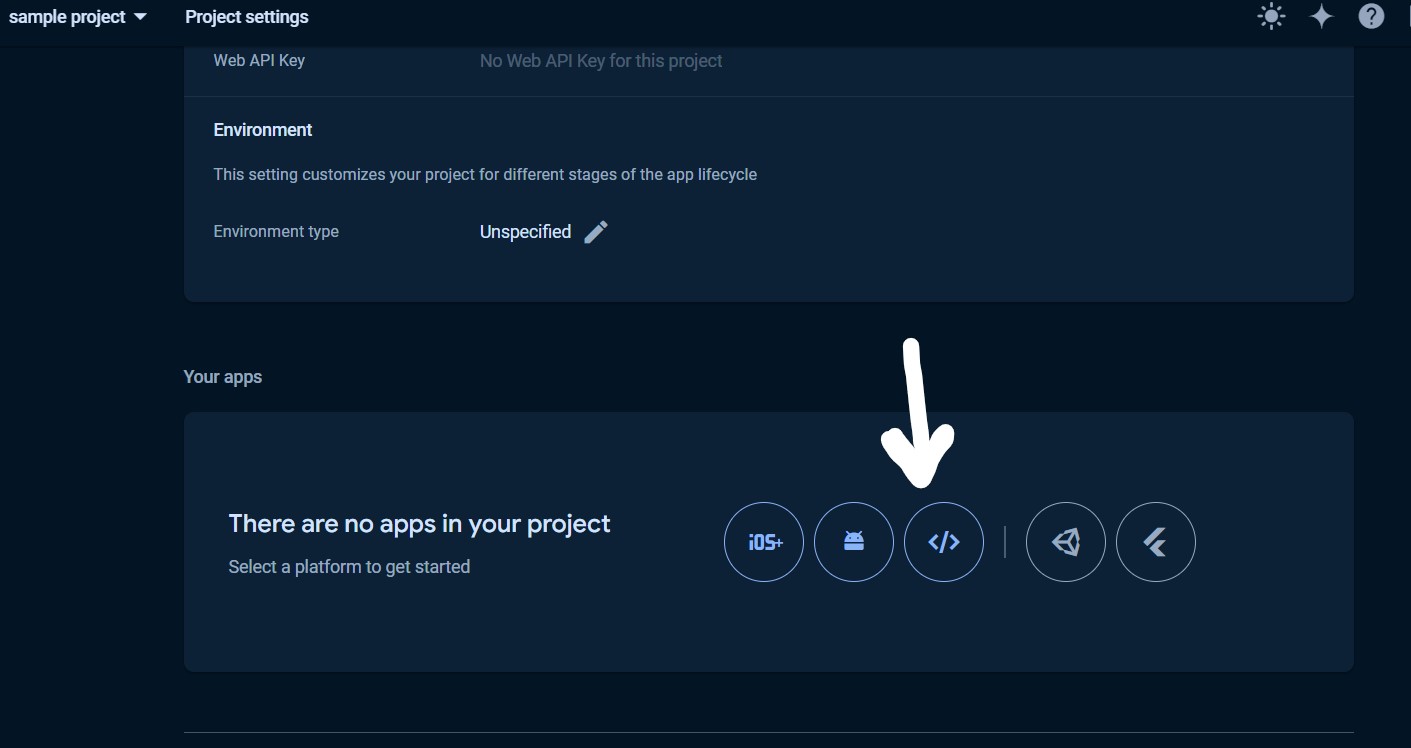
Once the installation is complete, again head over to the Firebase Admin Dashboard and click "Project settings" option besides Project Overview. Choose the following option:
You will get this kind of Firebase SDK inside the settings ⬇️
// Import the functions you need from the SDKs you need
import { initializeApp } from "firebase/app";
import { getAnalytics } from "firebase/analytics";
// TODO: Add SDKs for Firebase products that you want to use
// https://firebase.google.com/docs/web/setup#available-libraries

// Your web app's Firebase configuration
// For Firebase JS SDK v7.20.0 and later, measurementId is optional
const firebaseConfig = {
  apiKey: "AIzaSyBLdSdUvitBb5tVXiC6WM",
  authDomain: "sample-project.firebaseapp.com",
  projectId: "sample-project",
  storageBucket: "sample-project.com",
  messagingSenderId: "880567719",
  appId: "1:8807719:web:3964255c4262",
  measurementId: "G-ZGMYGN8"
};

// Initialize Firebase
const app = initializeApp(firebaseConfig);
const analytics = getAnalytics(app);
NOTE: Do not copy the above SDK as it will be invalid to use.
Step 3:
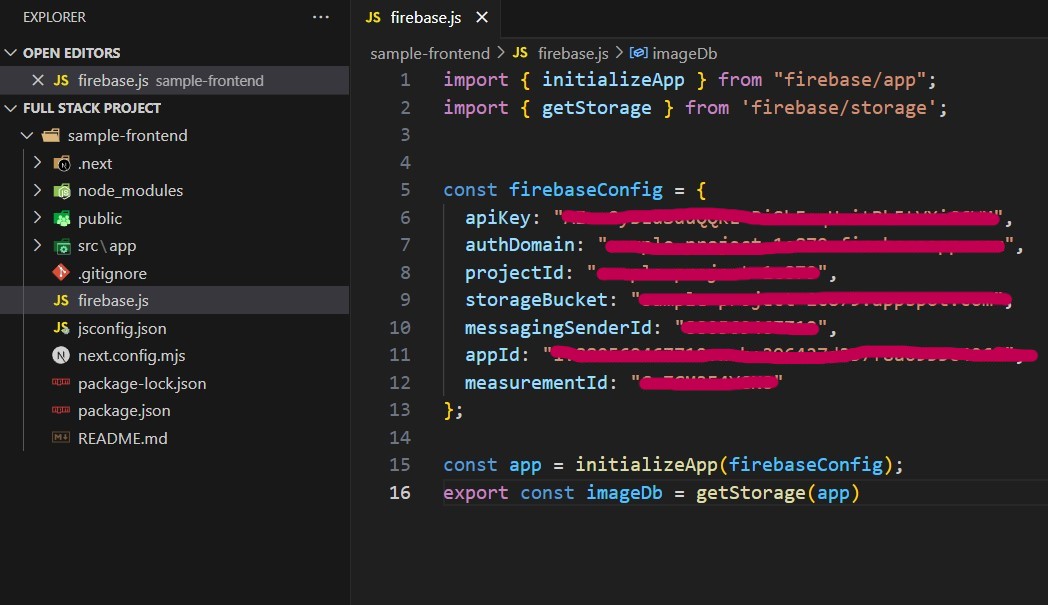
Coming back to the project folder. Make a new file namely "firebase.js" inside the root folder "sample-frontend".
Add your Firebase SDK which you just obtained inside the firebase.js file
Compare the Firebase SDK inside your file with the following SDK arrangement and modify your file accordingly:
Well Done 🙌, you are all set with the understanding about pages and Firebase setup in Next.js
In the further parts of this series "Building Full-Stack Web Application using Next.js" I would be covering the following:
Setting up the Backend Servers 🗃️
Integrating MongoDB with Backend 📥📤
Connecting Frontend to Backend and testing the whole project run 🏃♂️
Deploying the project globally to make it shareable 🌐
In case of any doubt, you can reach out to me via LinkedIn 👨💻
You can also connect with me on various other platforms like Twitter, GitHub
If you liked this Blog, make sure to give it a 💟 and do Follow me on this platform to get notified for my next blogs in this series.
Happy Coding!! 👨💻


