


If you are making a Web Development project and want to implement a user dashboard as one of the Front-End UI then this might be a Sure Shot way to get it done!!
Here I will be using NPM (Node Package Manager) and React for the same.
Just follow the Steps below ⬇️
Creating and Initializing React
Make a new folder and jump inside it (HINT: use "cd" command).
Paste the 2 commands one by one in your Command Line Tool / Terminal:
npx create-react-app my-app
npm install react-router-dom
All the necessary files should have been created & initialized.
To Test the running of react App, write the command:
npm start
Adding Required Files
Inside the src Folder, Add 3 folders Folder namely Pages, Components and Images.
Pages folder would hold the different pages you want to display in the dashboard.
Images would hold all the images you desire to have inside your dashboard.
Create multiple files inside the Pages Folder with an extension of ".jsx" (eg. home.jsx, profile.jsx, blogs.jsx etc.). These would appear inside the Navigation Panel of your Dashboard. Using them, you can Navigate to any desired component of the Dashboard.
Insert some images inside Images Folder. We will be using them Later.
In the Components Folder, Create a file namely NavPane.jsx (for side Navigation Pane).
Note: You are free to make Multiple files inside the folder and change their names. But the directory structure should roughly stay around the following provided example structure.
my-dashboard-app/
  |- src/
      |- components/
      |    |- NavPane.jsx
      |
      |- pages/
      |    |- Main/
      |    |    |- Main.jsx
      |    |    |- Main.css
      |
      |    |- BlogList/
      |    |    |- BlogList.jsx
      |    |    |- BlogList.css
      |
      |    |- PublishBlog/
      |    |    |- Publish.jsx
      |    |    |- Publish.css
      |
      |    |- Logout/
      |         |- Logout.jsx
      |
      |- App.js
      |- index.js
  |
  |- public/
      |- index.html
      |- logo.png
  |
  |- package.json
  |- README.md
Coding Starts Here
Inside the Pages folder there are multiple files present present with different names, which showcase different pages that would be loaded upon clicking the desired name on Navigation Bar.
I will be providing you with a sample code for one of the files present inside the page.
Code for PublishBlog.jsx :
import React from 'react';
import './Publish.css';

const Publish = () => {
  const handleSubmit = (event) => {
    event.preventDefault();
  };

  return (
    <div className="publish-container">
      <h2>Publish Blog</h2>
      <form onSubmit={handleSubmit}>
        <div className="form-group">
          <label htmlFor="title">Title</label>
          <input type="text" id="title" />
        </div>
        <div className="form-group">
          <label htmlFor="content">Content</label>
          <textarea id="content" rows="6"></textarea>
        </div>
        <button type="submit" className="publish-button">
          Publish
        </button>
      </form>
    </div>
  );
};

export default Publish;
For CSS code:
.publish-container {
    max-width: 500px;
    margin: 0 auto;
    padding: 20px;
    background-color: #f0f0f0;
    border-radius: 5px;
    display: flex;
  }

  h2 {
    font-size: 24px;
    text-align: center;
    margin-bottom: 20px;
  }

  .form-group {
    width: 100%;
    box-sizing: border-box;
  }

  label {
    display: block;
    font-size: 18px;
    font-weight: bold;
    margin-bottom: 5px;
  }

  input,
  textarea {
    width: 100%;
    padding: 10px;
    font-size: 16px;
    border-radius: 5px;
    border: 1px solid #ccc;
  }

  .publish-button {
    display: block;
    width: 100%;
    padding: 10px;
    font-size: 16px;
    font-weight: bold;
    text-align: center;
    background-color: #4caf50;
    color: #fff;
    border-radius: 5px;
    cursor: pointer;
  }

  .publish-button:hover {
    background-color: #45a049;
  }
You can add the desired CSS to make the pages look Stunning...
Similarly, write the Codes for other Page files as well
Code for NavPane.jsx component:
import React, { useState } from 'react';
import { AiOutlineHome } from 'react-icons/ai';
import { BsList, BsPencil } from 'react-icons/bs';
import { FiLogOut } from 'react-icons/fi';
import { NavLink } from 'react-router-dom';

const NavPane = ({children}) => {
    const[isOpen ,setIsOpen] = useState(false);
    const toggle = () => setIsOpen (!isOpen);
    const menuItem = [
    {
      path: "/Dashboard/home",
      name: "Home",
      icon: <AiOutlineHome />
    },
    {
      path: "/Dashboard/bloglist",
      name: "BlogList",
      icon: <BsList />
    },
    {
      path: "/Dashboard/publish",
      name: "Publish",
      icon: <BsPencil />
    },
    {
      path: "/Dashboard/logout",
      name: "Logout",
      icon: <FiLogOut />
    },
  ];
    return (
        <div className="container">
           <div style={{width: isOpen ? "200px" : "50px"}} className="sidebar">
               <div className="top_section">
                    <h1 style={{display: isOpen ? "block" : "none"}} className="logo">Logo</h1>

                   <div style={{marginLeft: isOpen ? "50px" : "0px"}} className="bars">
                       <BsList onClick={toggle}/>
                   </div>
               </div>
               {
                   menuItem.map((item, index)=>(
                       <NavLink to={item.path} key={index} className="link" activeclassName="active">
                           <div className="icon">{item.icon}</div>
                           <div style={{display: isOpen ? "block" : "none"}} className="link_text">{item.name}</div>
                       </NavLink>
                   ))
               }
           </div>
           <main>{children}</main>
        </div>
    );
};

export default NavPane;
Code for App.js:
import React from 'react';
import { Routes, Route, BrowserRouter } from 'react-router-dom';
import NavPane from './components/NavPane';
import Main from './pages/Main/Main';
import BlogList from './pages/BlogList/BlogList';
import Publish from './pages/PublishBlog/Publish';
import Logout from './pages/Logout/Logout';
import "./App.css"


function App() {
  return (
    <>
      <BrowserRouter>
        <NavPane>
          <Routes>
            <Route path="/" element={<Main />} />
            <Route path="/Dashboard/home" element={<Main />} />
            <Route path="/Dashboard/bloglist" element={<BlogList />} />
            <Route path="/Dashboard/publish" element={<Publish />} />
            <Route path="/Dashboard/logout" element={<Logout />} />
          </Routes>
        </NavPane>
      </BrowserRouter>
    </>
  );
}

export default App;
NOTE: In order to achieve the desired result, you need to keep the structure of your code similar to the above if not exactly the same.
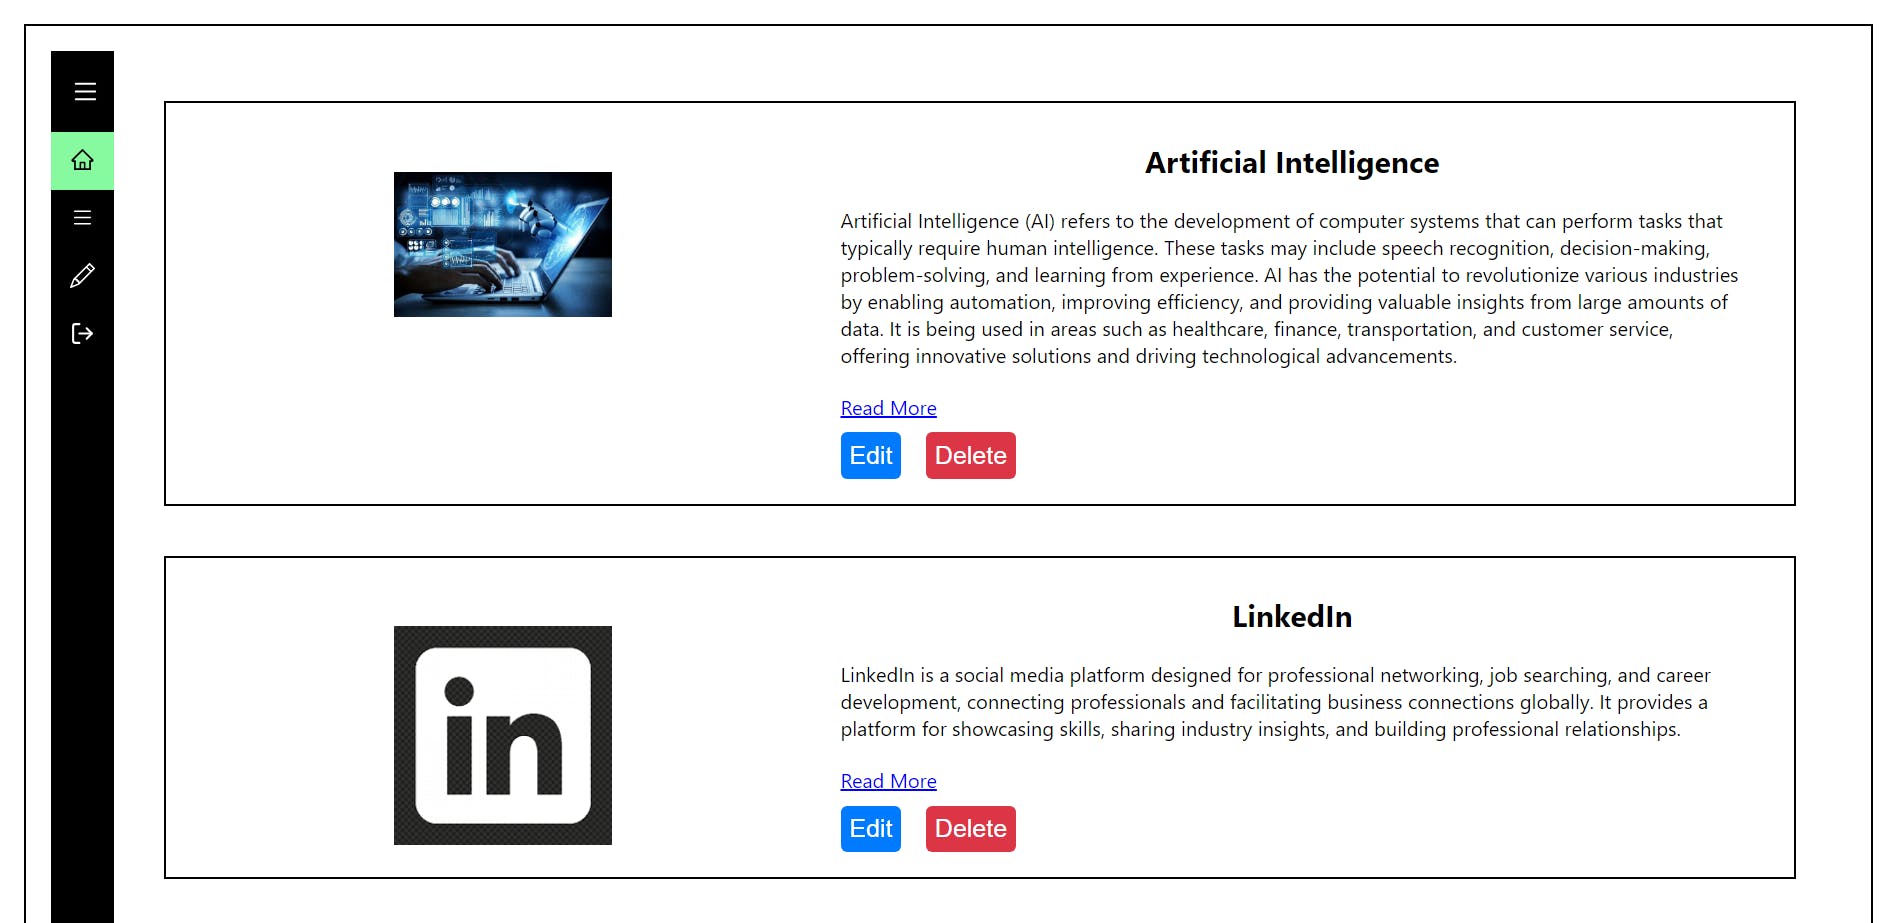
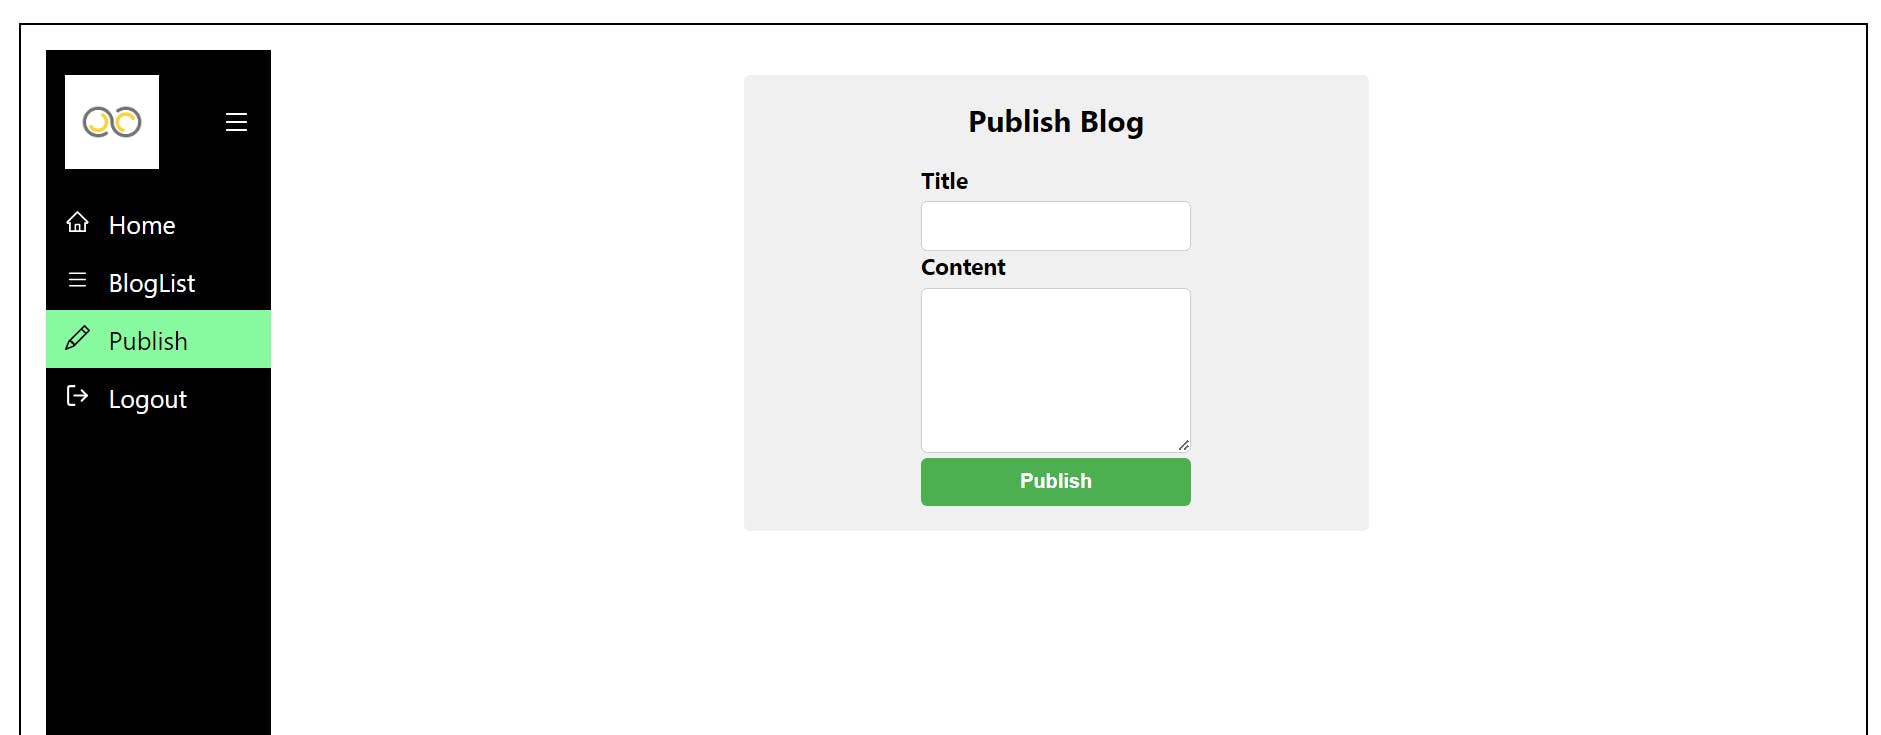
It's Done!! You have finally made a Super Cool Dashboard which you can integrate in your project for showcasing various Stuff.
Dashboard Snippets:


I hope, this Article has been of some help to you.
Still stuck on some issue, you can DM me on LinkedIn. I would be more than happy to help you🙂
Get Full Code here: https://github.com/Sujal-2820/React-Dashboard-App.git